Thought of the Day

When in doubt, look intelligent.

When in doubt, look intelligent.

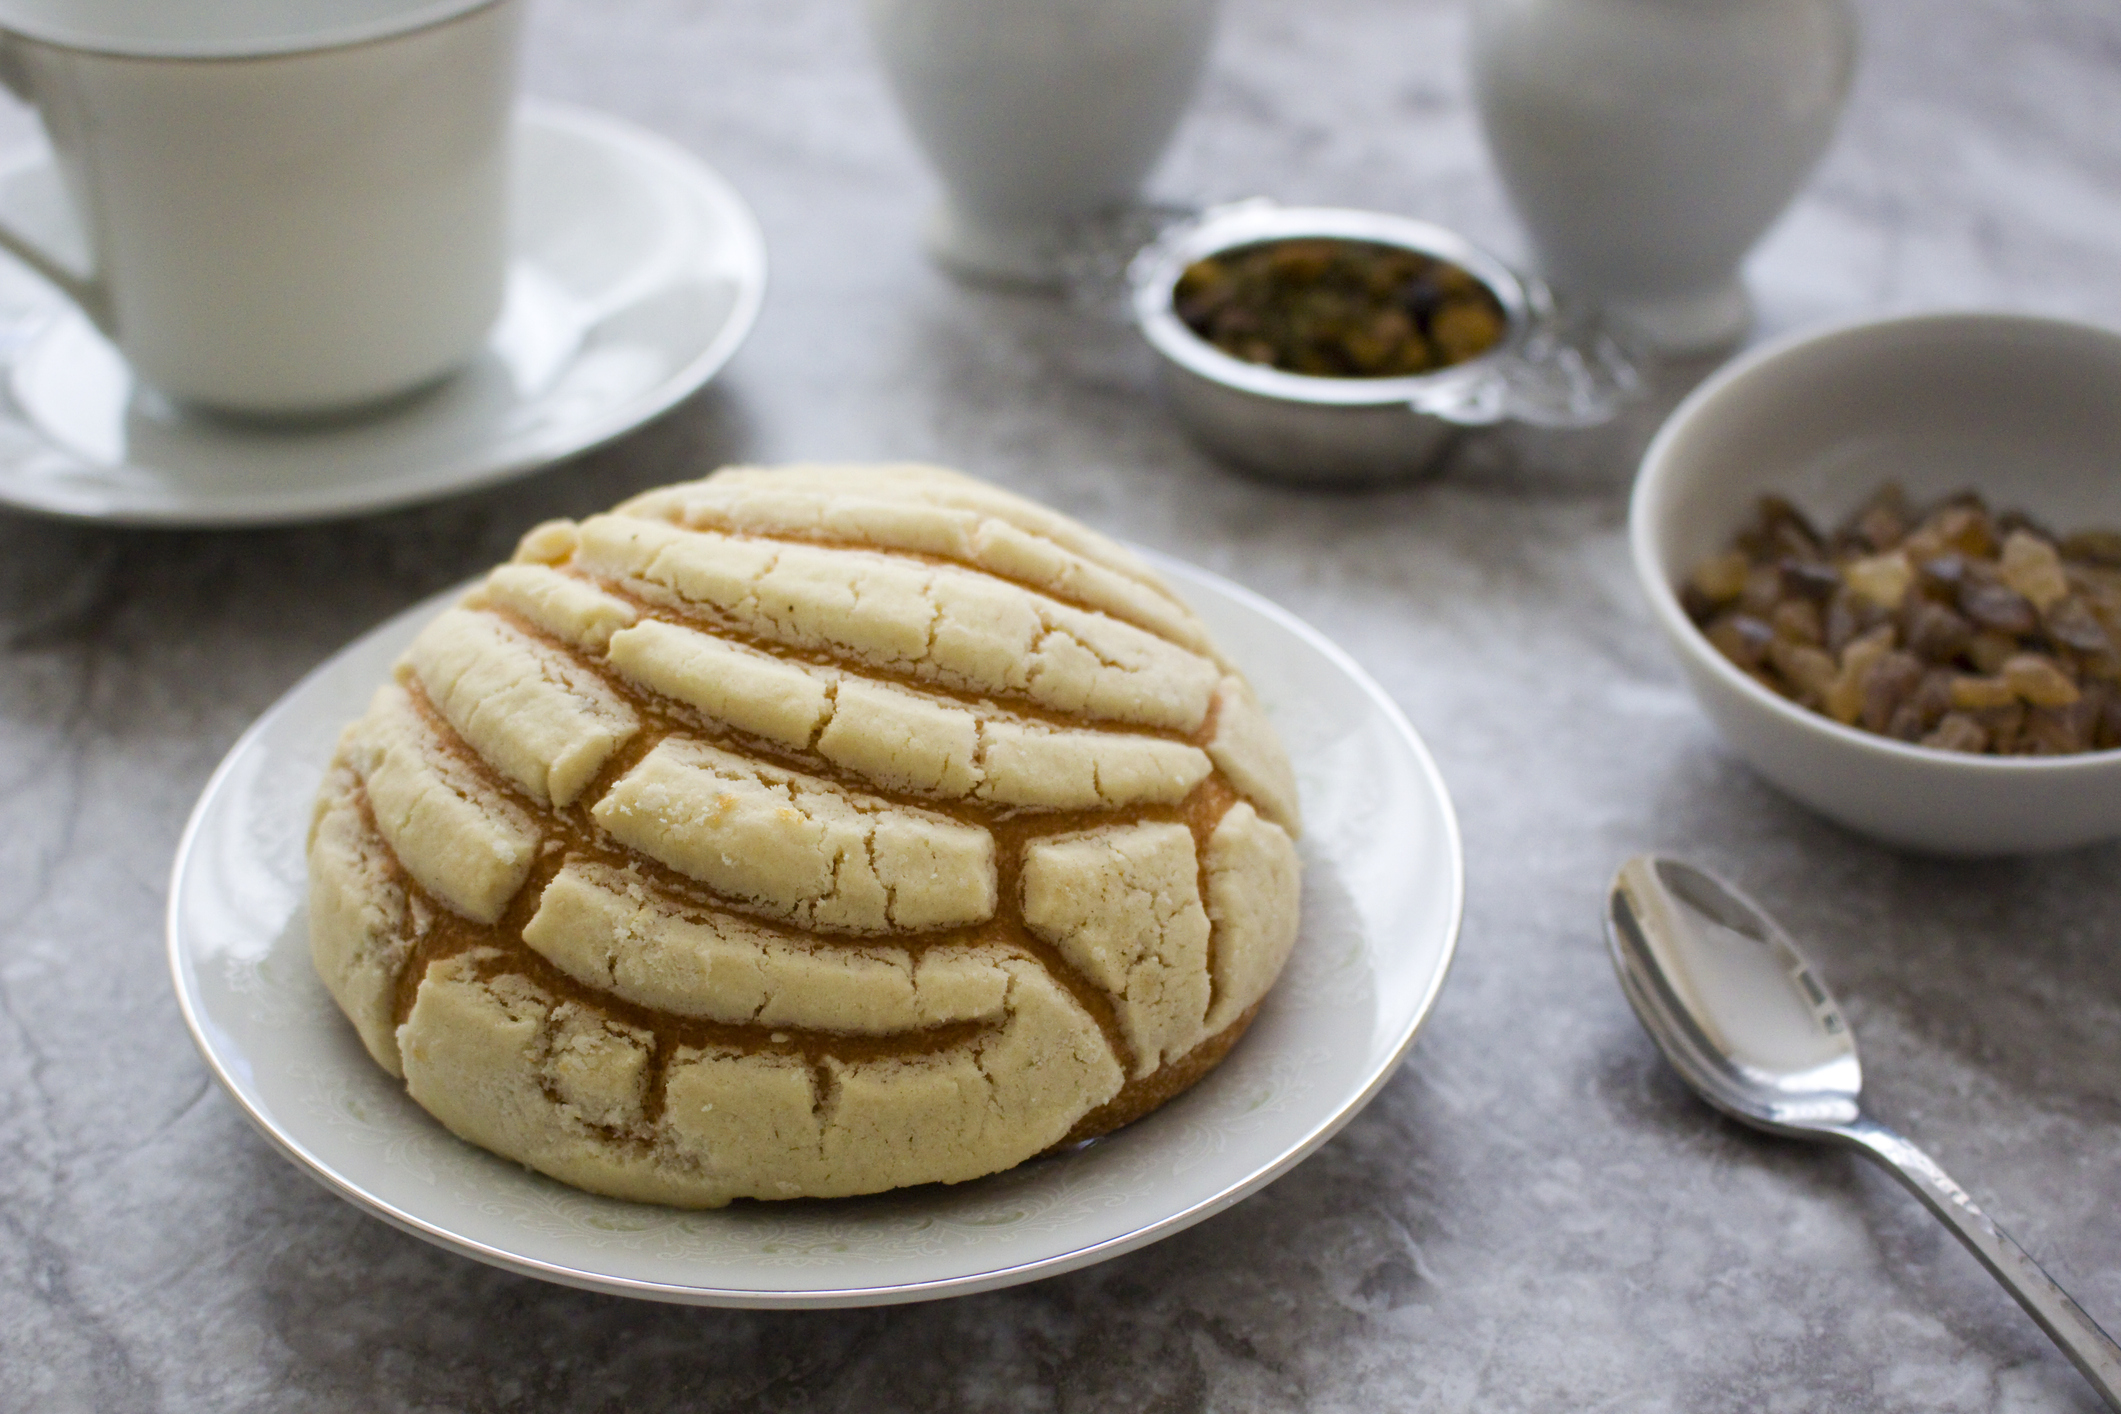
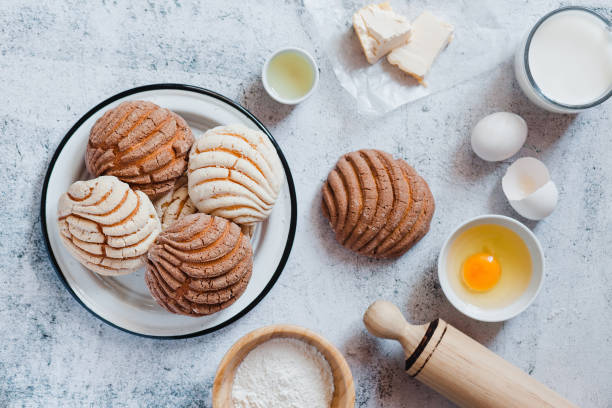
Concha Bread Recipe from Delish
Prep time: 3 hours and 15 minutes
Cooking time: 22 minutes
Serving size: 12 servings
Dough:
Topping and Assembly:
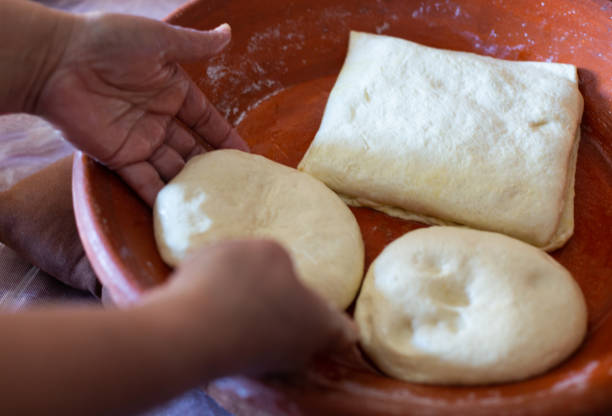
Dough:
Topping and Assembly:
Bake:


Haste is waste.

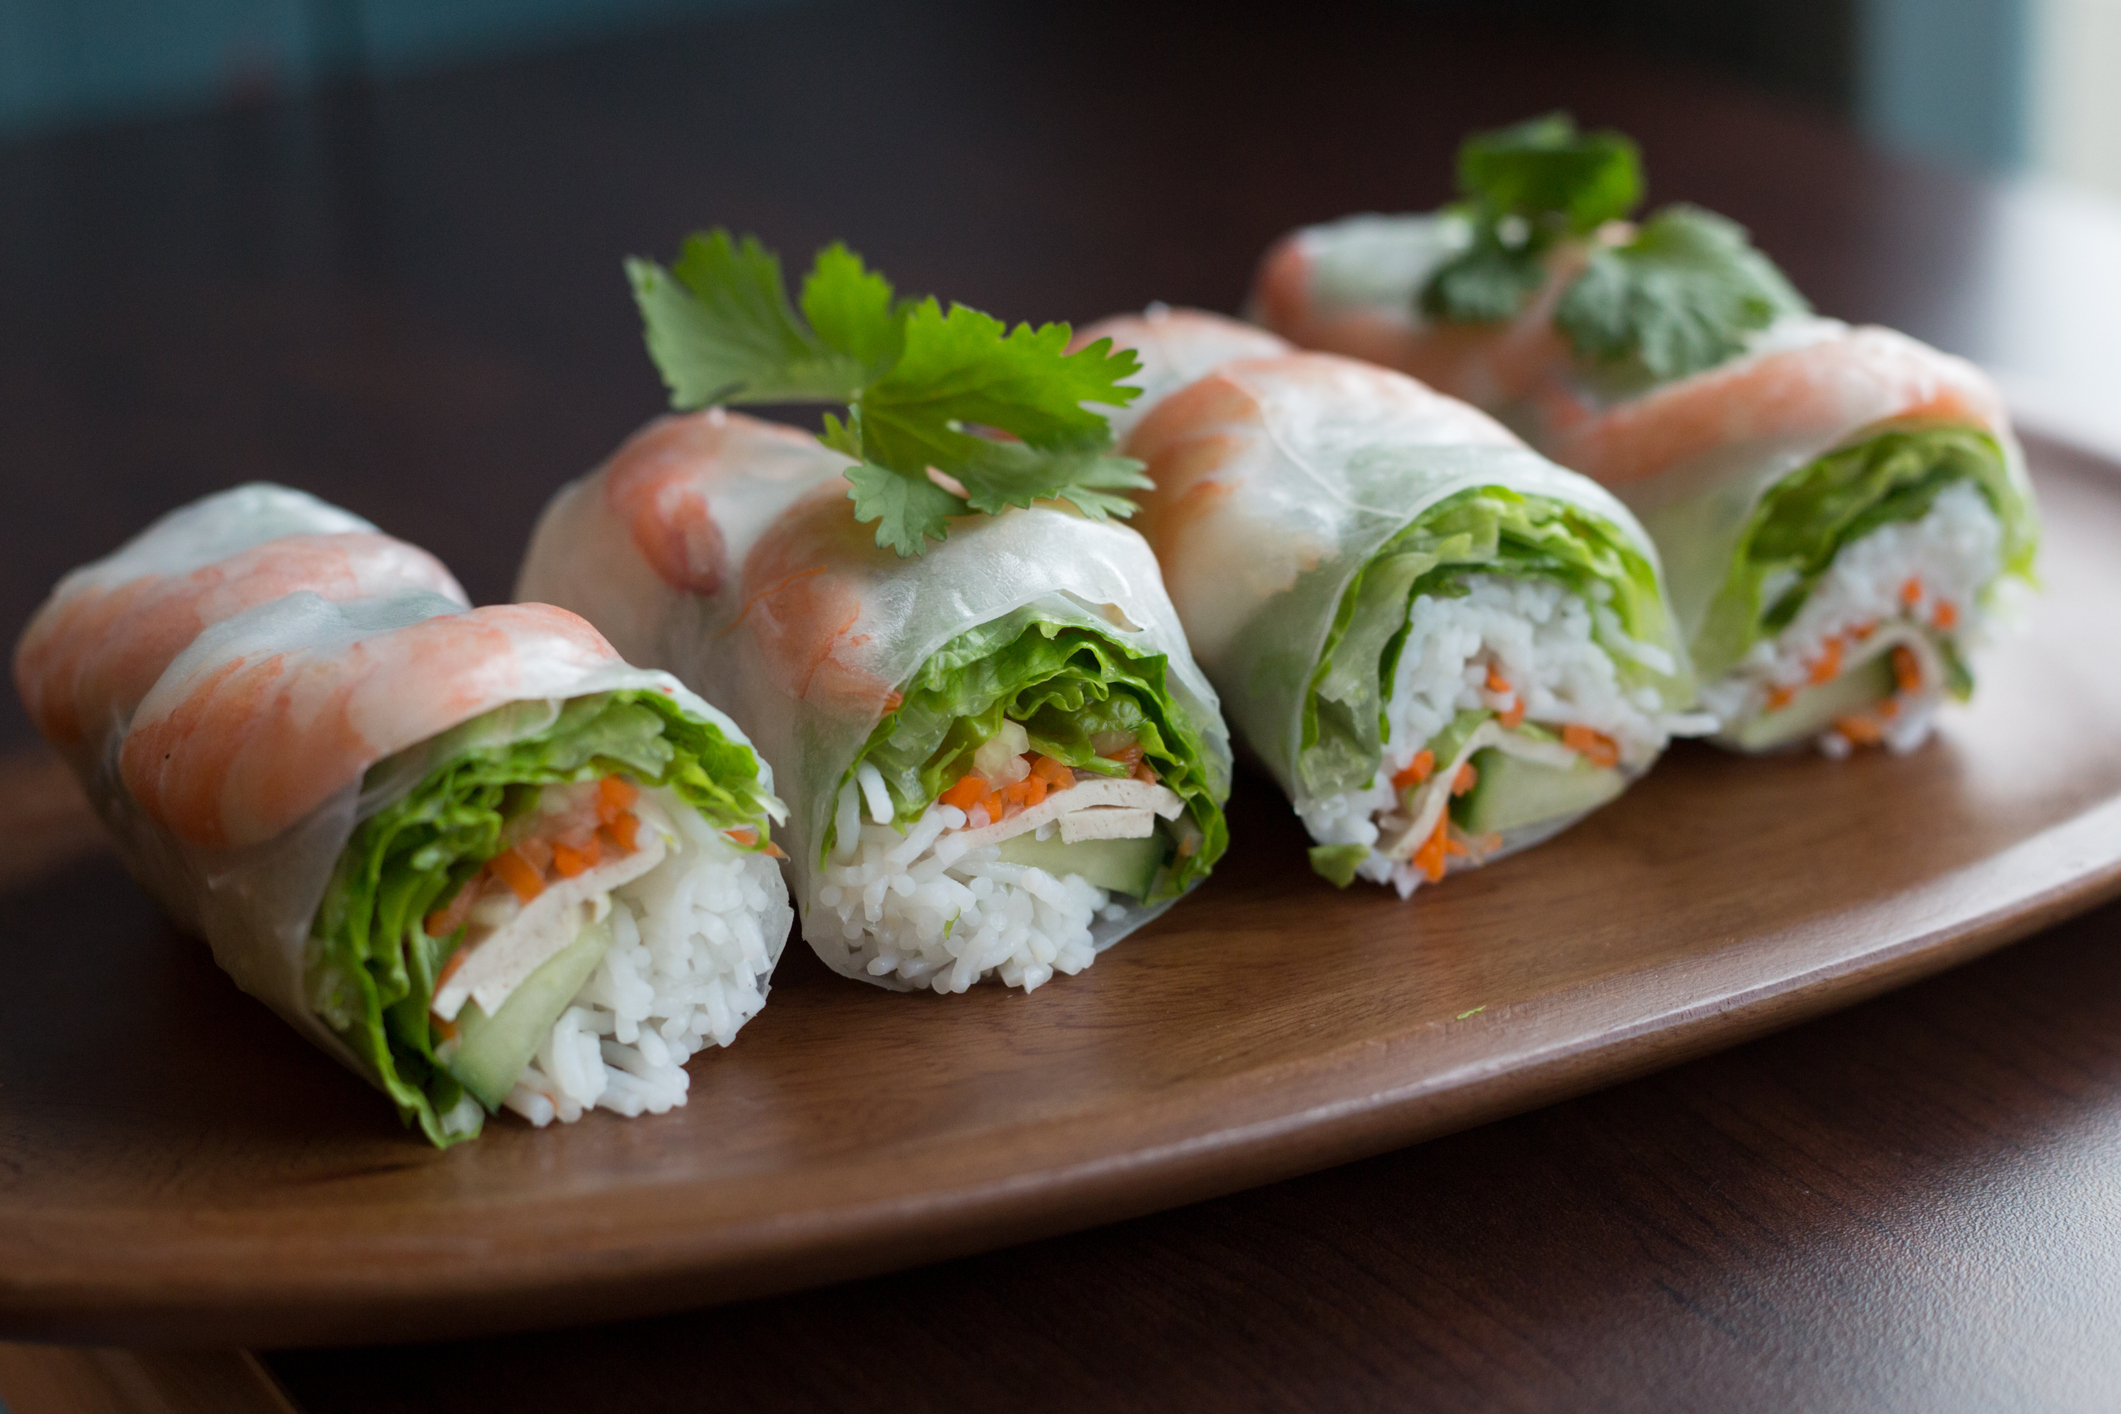
Summer Rolls Recipe from The Kitchn
Prep time: 45 minutes
Cooking time: N/A
Serving size: 16 rolls
For the filling:
To assemble the rolls:
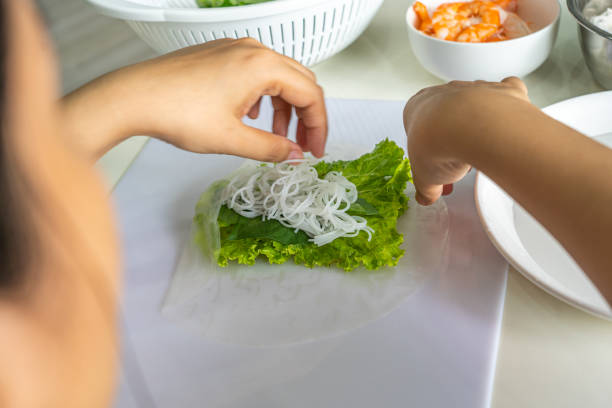
Cook the Shrimp:
Prepare the Vegetables:
Cook the Noodles:
Prepare the Rice Paper Wrappers:
Assemble the Rolls:
Roll the Spring Rolls:
Serve:


Devils Food Cookies Recipe from Taste of Home
Prep time: 15 minutes
Cooking time: 10 minutes
Serving size: 28 cookies
Prepare the Dough:
Shape and Bake:
Cool and Serve:


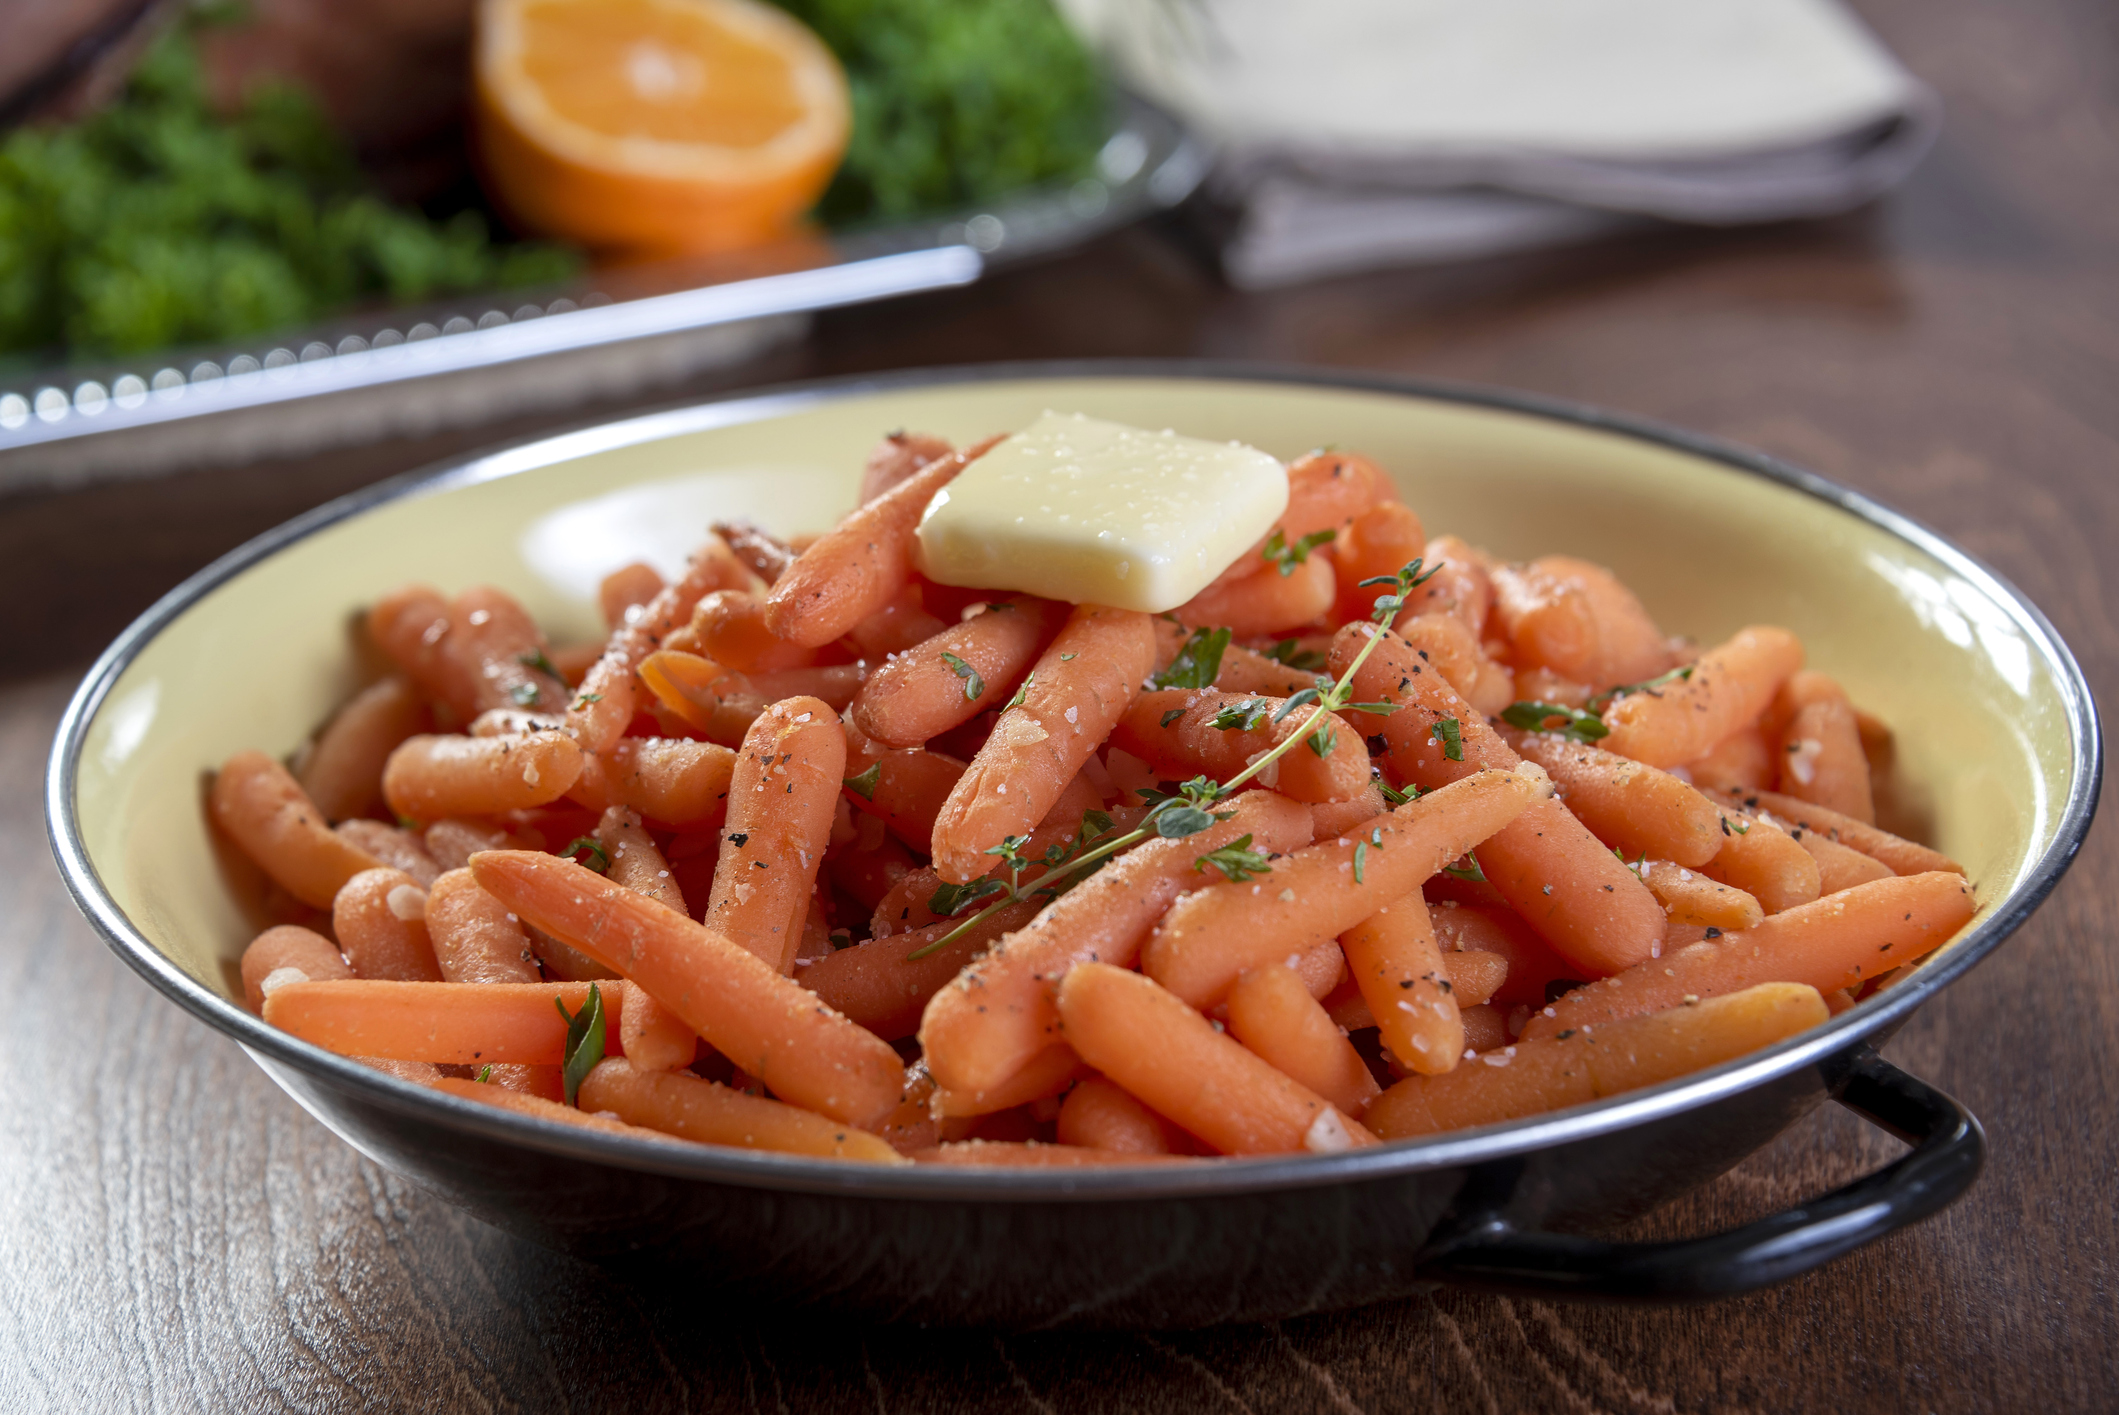
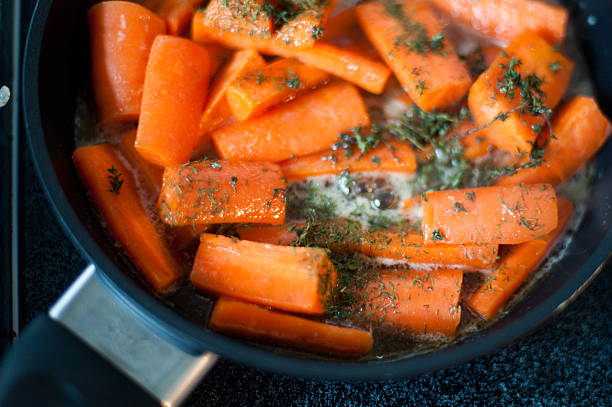
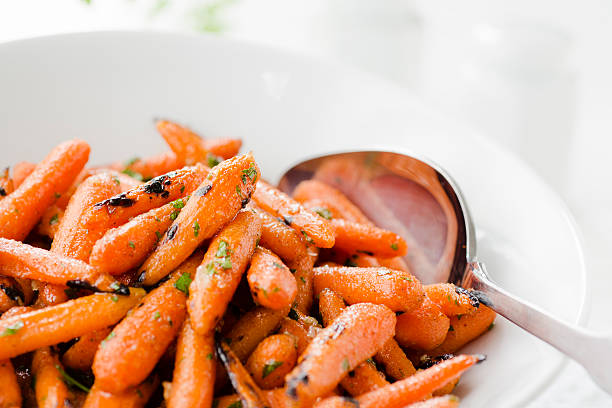
Glazed Ranch Carrots Recipe from Taste of Home
Prep time: 10 minutes
Cooking time: 15 minutes
Serving size: 12 servings

Hobbies to Take Up
You may have a full-time job or be in school, so choosing a hobby that fits your current obligations is important. Consider how many days per week you can dedicate to a hobby, how often you’ll participate, and the overall free time you have. You might wonder how your friend manages to attend yoga classes four times a week when your schedule feels completely booked. In that case, consider a hobby that is less time-consuming and tailored to your specific routine.
While you may not have the same amount of free time as your friends or family, you can always dip your toe into their hobbies. That friend who goes to yoga four times a week? Maybe you could join them once a week. Doing hobbies with loved ones makes it more likely you’ll stick with them and enjoy the experience.
Think back to when you were a kid. What hobbies did you enjoy? You might consider picking one of them back up. Did you love to bake but stopped making time for it? Hobbies you already know and enjoy are often the easiest to maintain because they bring you joy and familiarity.
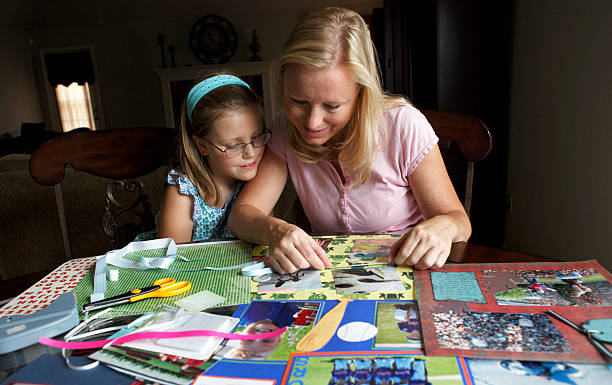
Start small. It’s easy to jump into something with full enthusiasm, but before committing too much time or money to a hobby, make sure it’s sustainable. For example, if you’re interested in scrapbooking, buy a few basic supplies to get started and dedicate just one hour per week to it. Keeping your hobby manageable is essential for sticking with it.
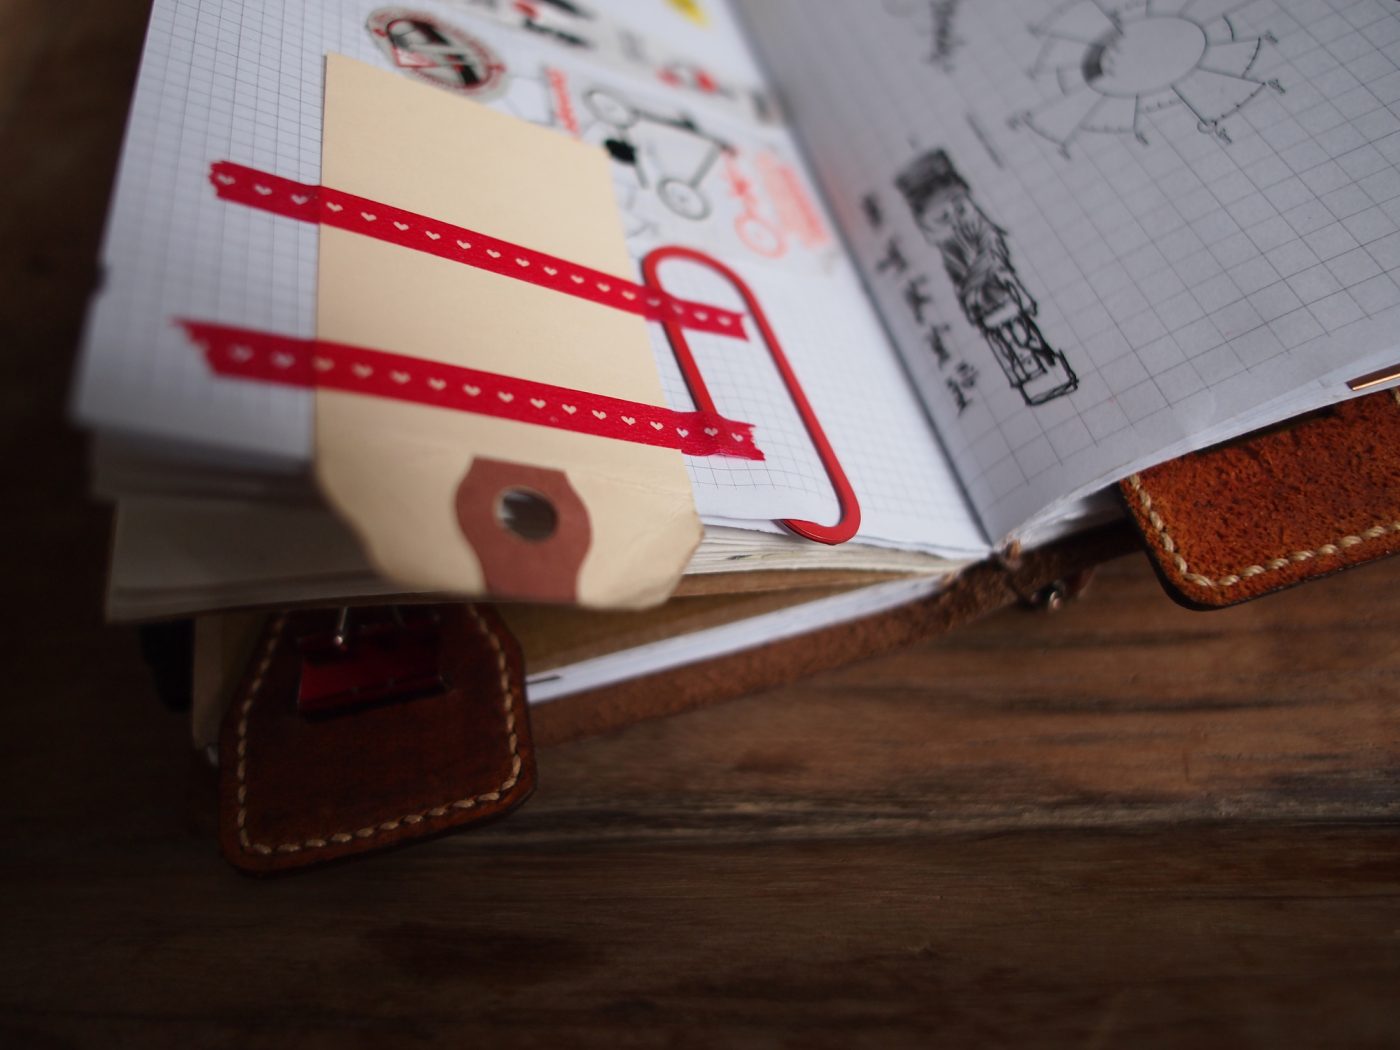
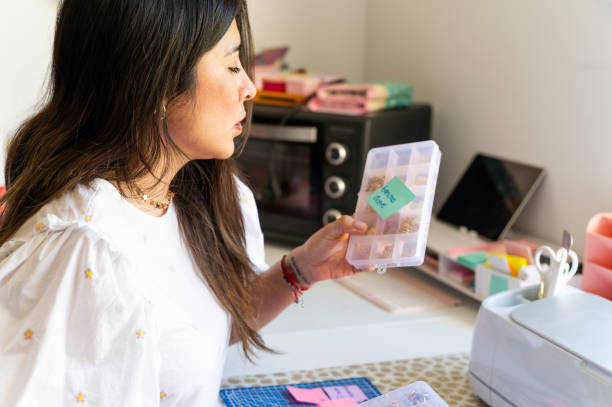
Wreck-It Journals are becoming popular on social media platforms like TikTok. They’re a creative space to jot down your thoughts, plans, and goals while incorporating elements of scrapbooking. Unlike traditional scrapbooks, which often feature polished layouts, Wreck-It Journals are all about imperfection and spontaneity. That sushi takeout receipt you got the other day? Throw it in there. That random raffle ticket you didn’t win with? Add it, too! You can even use a portable thermal printer for quick and easy prints.
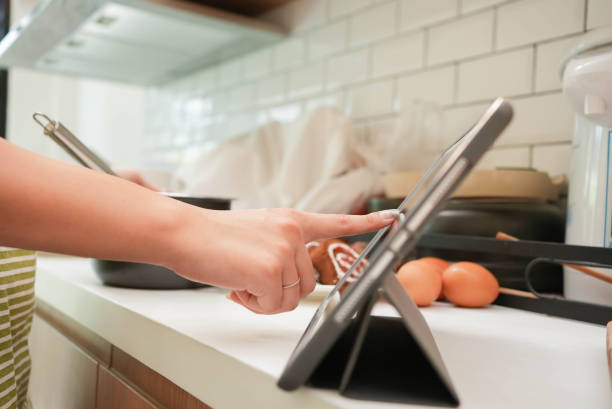
Learning to cook is a valuable skill that combines practicality with fun. Are you stuck in a microwave-meal routine? Find simple recipes for meal prep instead! TikTok is an excellent resource for all kinds of recipes, from step-by-step meal prep guides to elaborate dinner party ideas. Choose a creator or website you like and start by cooking two or three meals per week. If you want to go the extra mile, book a cooking class for yourself (and maybe a friend).
Sticker-making can be a fun and relaxing hobby. There are plenty of methods, from using a Cricut machine to DIY tape stickers. A Cricut is versatile, allowing you to create stickers, permanent decals, or even iron-on designs for t-shirts. These stickers can be used as gifts, home organization tools, or just for fun. You can design your own stickers using platforms like Canva or find pre-made templates online.

DIY nail products like Gel X are becoming increasingly popular because they’re relatively quick and easy to learn. I started doing my own nails four years ago, and I haven’t been to a salon since. While it may take a little longer to do them yourself, it’s a great way to relax and disconnect.
You can buy Gel X kits or press-ons from retailers like Amazon, and TikTok has detailed tutorials to get you started. Be sure to follow proper safety precautions, such as fully curing your nails and avoiding contact between the gel and your skin. For an extra step, consider using HEMA-free nail polishes for a safer alternative.
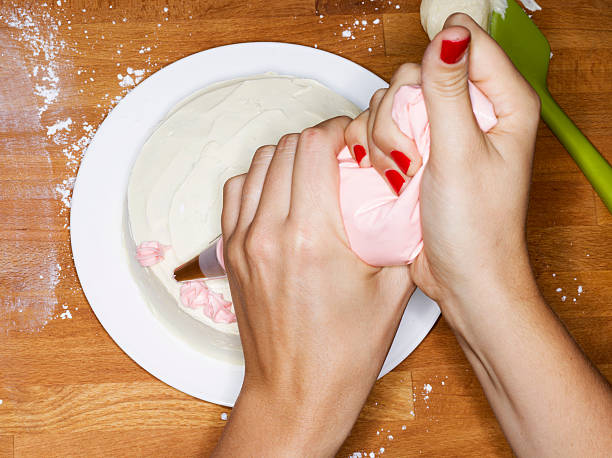
Cake decorating was a hobby I loved as a kid, but as I grew older, I found myself with less free time and not as much of a sweet tooth. For me, it was more about the decorating than the baking. I enjoyed gifting small cakes and cupcakes to friends and family. This hobby is perfect for a slow Sunday and is something you can enjoy with loved ones.
Hobbies provide a way to unwind, whether you’re coming off a 40-hour workweek, a day with the kids, or a long study session. Engaging in enjoyable activities helps release dopamine, the “feel-good” hormone, which can reduce stress and improve your mood.
Hobbies encourage you to think outside the box and try new things. Creative hobbies can improve problem-solving skills and spark innovative ideas that help in all areas of life.
Hobbies are a great way to bond with others. Whether you’re attending classes, joining clubs, or trying something new with friends, hobbies create opportunities to build connections and expand your social circle.
Hobbies are an essential part of a well-rounded life. They provide joy, relaxation, and personal growth opportunities. Whether you’re reconnecting with a childhood passion or exploring something entirely new, the possibilities are endless. So, what’s stopping you? Start your hobby journey today!

It’s time to begin training your dog, great! There are a few things to keep in mind though when beginning to train your pooch.
The first thing is to remember is your tone! Dogs may not understand languages but they do know sounds and tones. If you are happy and use a silly voice, this tells your animal that all is good and will probably respond to you. BUT if you use an angry or monotoned sound, they may run away or not even respond.
Next is to use lots and lots of treats, they like foods and snacks. It’s just like at work, when you do well its wonderful to receive high praise or even a bonus. Dogs are the same, the more your praise and give treats, the more likely they will do the command over and over to get tasty stuff.
There are so many things to keep in mind but probably the most important aspect to remember is to do the training every day. When doing something every day, it becomes a habit and a routine, like brushing your teeth, as a child you were ingrained to always brush your teeth in the morning and at night which became a routine for you. Same with animals, doing something every day and sometimes several times a day will help teach your dog to do the command.
For more information and all the tips and tricks on getting your dog to start training, check out the full article the American Kennel Club has on their website.


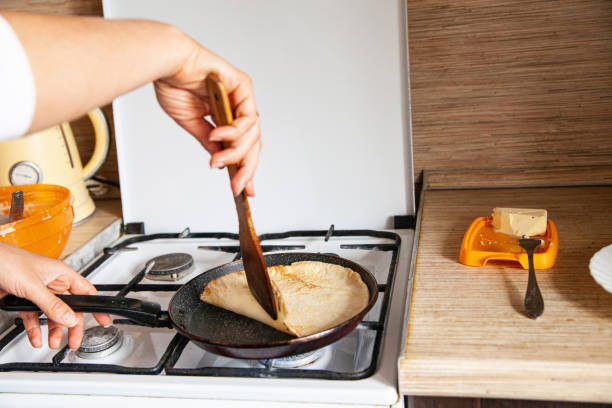
Basic Crepes Recipe from allrecipes
Prep time: 10 minutes
Cooking time: 20 minutes
Serving size: 4 servings


Homemade Lasagna Recipe from Delish
Prep time: 1 hour
Cooking time: 1 hour
Serving size: 10 to 12 servings
Bolognese Sauce:
Béchamel Sauce:
Assembly:
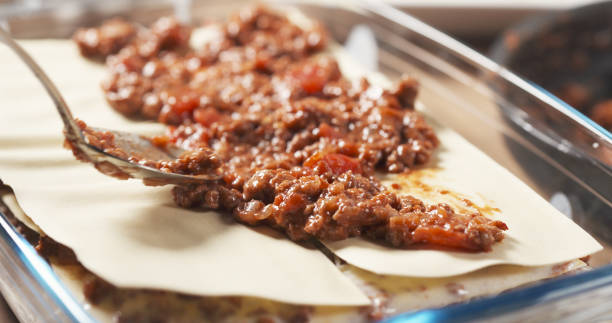
Make the Bolognese Sauce:
Make the Béchamel Sauce:
Assemble the Lasagna: